Asparagus and Asiago Frittata

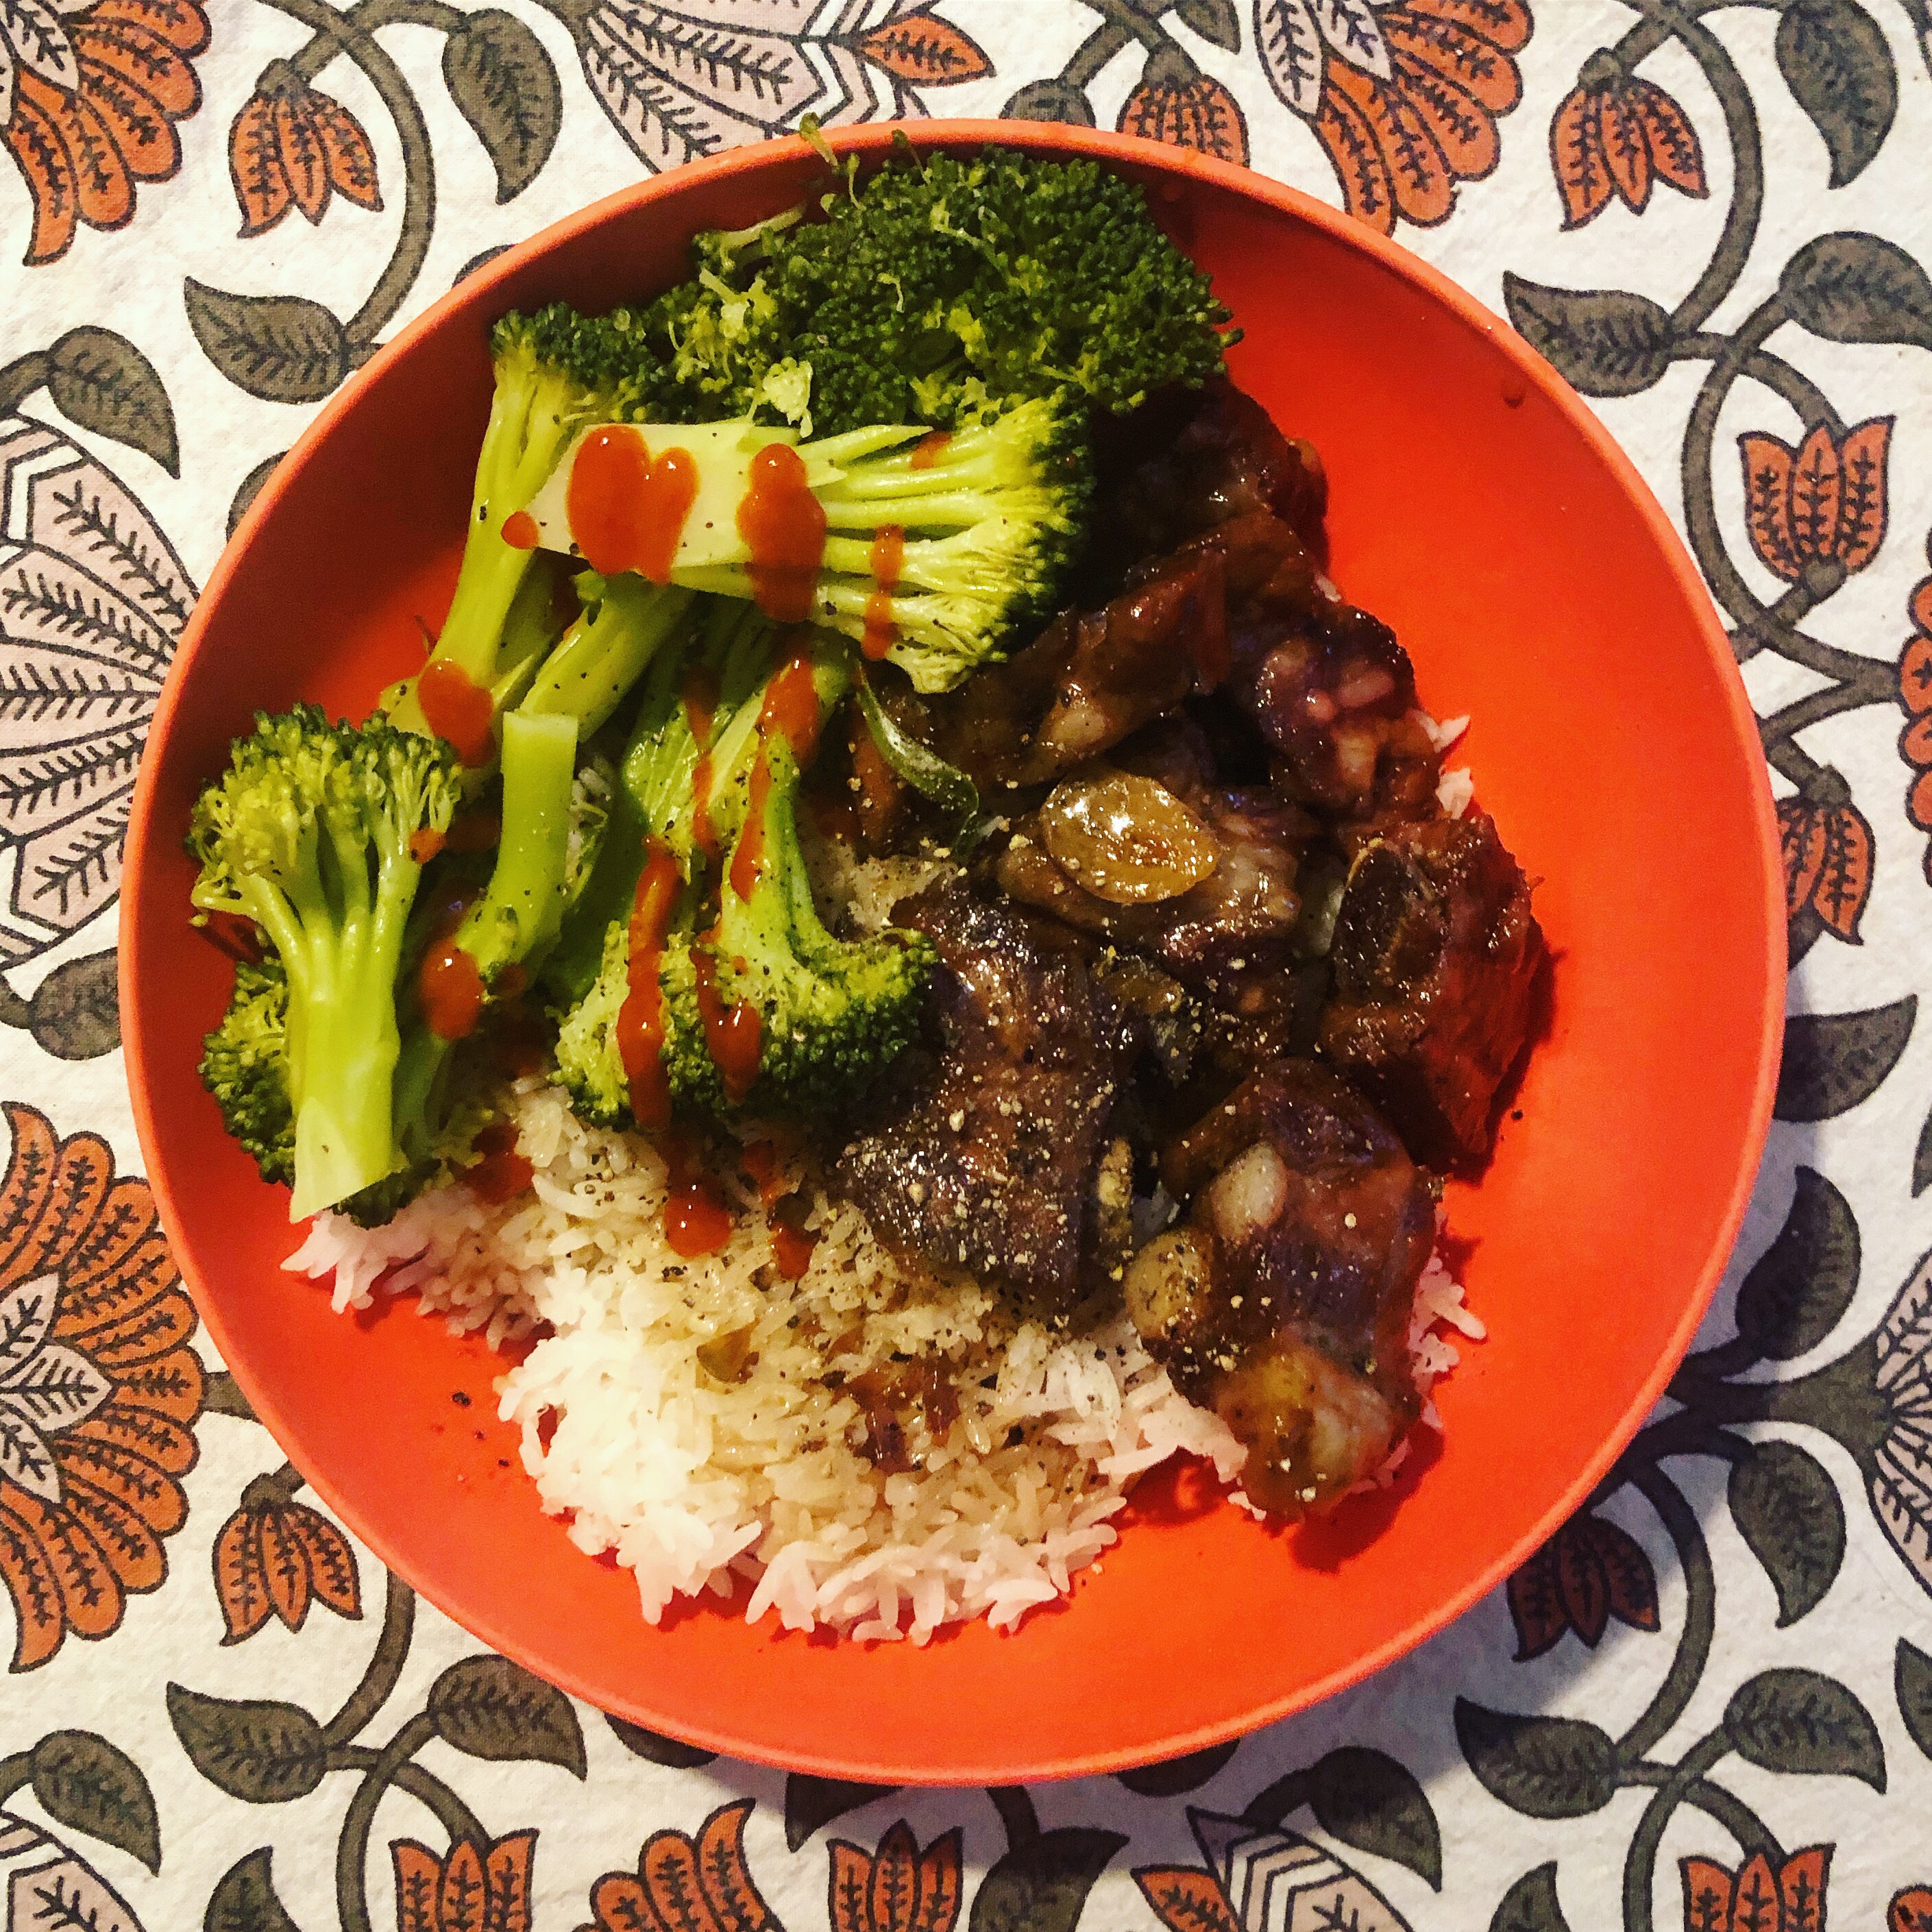
Times are still tough. Food is still comforting. This is a yummy, savoury meal that is vegeterian and fairly cheap. It’s also very versatile and lends itself to what you have in the fridge. So get creative!

The Original Recipe: My Nana mostly!

My Version:

Ingredients

  • 10 eggs, whisked in a bowl
  • Two tbsp of butter
  • One onion, cut in two and sliced
  • Three cloves of garlic, minced
  • One tbsp of italian seasoning
  • One tbsp of rosemary
  • A handful of asparagus, chopped in two
  • One cup of asiago cheese, divided in two
  • One cup of corn
  • Salt & Pepper.

Method

  • Preheat oven to 350 degrees.
  • Drop butter in a pan (that is oven-safe) on medium heat. Once butter is melted, add onions.
  • Once onions are translucent, add garlic and dry spices.
  • In the meantime, boil a pot of water.
  • Once the pot is boiling, drop your asparagus in. Only let blanche for three minutes, then remove and rinse in cold water.
  • Saute the asparagus in the pan with the garlic until coated.
  • Add eggs and stir.
  • Add corn and stir.
  • Liberally add salt and pepper and stir.
  • Once the eggs begin to cook, stop touching the pan and let sit and cook.
  • Turn the heat to low.
  • Cover pan.
  • Cook for about five minutes or until the top of the frittata looks mostly cooked.
  • Remove cover and put the second half of the cheese, as well as more salt and pepper on the top of the meal.
  • Place in the over and cook until all the egg is cooked through (about 5 more minutes).
  • If you want the top to brown, switch the oven to low broil for a few extra minutes, keeping an eye on it.
  • Enjoy!

Homemade Chicken Soup

Times are tough. Food is comforting. Here’s a recipe for chicken soup that I made last week when things weren’t so scary.

A hot tip is if you are strapped for time, you can skip steps 1-11 by buying chicken stock and buying a rotisserie chicken at the grocery store. Still super yummy and super comforting.

The Original Recipe: There isn’t one – just watching my Dad and my grandmothers make soup!

My Version:

Ingredients

  • A whole chicken (small – about 2-3 lbs – maybe 4lbs maximum). This can be frozen, or fresh, in an instant pot or regular pot. See below for variations.
  • Three onions.
  • Five carrots.
  • Five stalks of celery
  • A bulb of garlic (yes, really).
  • Two tbsp of poultry seasoning.
  • Two tbsp of Italian seasoning.
  • Two Bouillon of your choice.
  • 1/4 cup of butter.
  • One cup of corn (can be frozen, canned, or fresh).
  • One cup of peas (can be frozen, canned, or fresh).
  • Two cups of dry pasta (I like smaller ones like the farfalline that I used in the photo above.
  • Salt & Pepper.

Method

  • Take the small chicken and remove it from the packaging. It can be frozen, but of course will take longer.
  • Place the raw chicken in the pot. Add two onions, halved, with the skins on, as well as a carrot, chopped into five pieces, with the skin on. Add half of the bulb of garlic, each clove cut in two, with the skins on. Add one tablespoon of poultry seasoning, one tablespoon of italian seasoning, and add one bouillon to the pot. Add water to almost the top of the pot.
  • Cook for the following amount of time, depending on your variations:
  • Instant Pot Frozen: 60 minutes
  • Instant Pot Raw: 30 minutes
  • Regular Pot Frozen: 6 hours
  • Regular pot raw: 2 hours
  • One your chicken is cooked, move it into an oven safe dish that will fit the whole bird.
  • Place it in the oven, under low broil, until it looks crispy and “roasted”.
  • After that is done, put the bird back in the pot.
  • Pour the pot and all its contents out over a colander, and into another bowl. The second bowl should have only stock in it – no bits.
  • Now, pour cold water over the colander. This will cool the contents down so you can handle it better.
  • Remove any vegetables, bones, and skin from the colander. Keep only meat. If the meat is too large, shred it or cut it for the soup.
  • Put the meat only back in the pot with the stock, and let it sit.
  • Now, put butter in a heavy-bottomed pot.
  • Crack pepper and salt in the butter once melted.
  • Mince the remainder of your carrots, onion, celery, and garlic.
  • Add it all to the pot and let it simmer.
  • Add the rest of your spices and bouillon.
  • Keep it low enough not to burn anything, but hot enough to being having a fragrant start to your soup. Add in all the stock and chicken meat you made.
  • Add dry pasta.
  • Once the pasta is al dente – almost cooked – add in corn and peas.
  • Take off heat, and let sit for a few minutes.
  • Serve with crusty bread, and fresh pepper and sharp Italian cheese (such as parmesan or asiago).
  • Enjoy!

Maple Curry Penne

I used to live right beside Gahan House in downtown Charlottetown about 12 years ago. It was a single spot that’s now expanded to a few locations around Atlantic Canada. Not everything on their menu is my favourite but I’m a sucker for sweet and spiced things (this recipe isn’t hot but has a lot of flavour).

At the time, my go-to order was maple curry penne, sometimes on rice noodles, actually. It’s really flavourful and probably not an every day meal, but it’s a great treat and honestly not that hard to make. I had a first go at it today after doing some internet searches and finding some similar recipes. I’m sure it’s not exactly how they make it in the restaurant, but the flavour is really similar and it definitely hits the spot.

I also added more veggies to this dish because, well, I like veggies. I could see cauliflower working really well in this, too.

One thing to note is that this recipe is quite easy to make vegetarian and even vegan. Subbing the dairy for non-dairy substitutes and making your protein tofu wouldn’t change the composition of the meal at all. So experiment!

The Original Recipe: Gahan House, although I didn’t have access to it. Also, I did find this recipe by Fork and Fantasy that seems like the closest to what I was trying to find.

My Version:

Ingredients

  • 1 350-450g box of dry pasta (it doesn’t have to be penne, obviously)
  • 500g of steak, cut in narrow strips (tofu or other proteins would work well)
  • 1 bouillon cube
  • 1 cup of water
  • 1 red bell pepper, halved and sliced
  • 2 onions, sliced
  • 4 cloves of garlic, minced
  • 2 carrots, peeled and sliced thinly
  • 1 can of corn (frozen or fresh works too)
  • 1/3 cup of maple syrup
  • 1 cup of dairy milk (or coconut milk if you prefer)
  • 1/4 cup of cream cheese
  • 5 tbsp of curry powder (since there aren’t too many ingredients, it’s very important that this is fresh and high quality).
  • 1 tbsp of butter (or oil if you prefer)
  • Salt & Pepper

Method

  • Make pasta according to the instructions on the box, but make sure it’s al dente (slightly under-cooked) or otherwise you’ll get mushy dinner.
  • Prepare all the veggies and the steak to begin cooking.
  • Add butter to a pan set on medium-high, and add your steak. When beginning to crust and cook, add the garlic and onions and cook to sweat (but don’t overcook).
  • Turn the heat down to medium.
  • Put the bouillon and water in the pan.
  • Add the cream cheese and the curry powder.
  • Add the maple syrup and milk.
  • Pour 1/2 cup of pasta water into the pan and drain the rest of the pasta, leaving it in the pot while you finish the sauce.
  • Add the red pepper, carrots, and corn.
  • Cover and let simmer on low for a few minutes to cook the added vegetables.
  • Uncover, stir, and cook until the sauce thickens.
  • Season with salt and pepper to taste. This is also a good time to adjust the syrup and curry ratio if you need to.
  • Add the drained pasta to your pan.
  • Stir it very well until all the pasta is coated and heated back up.
  • Enjoy!

Best Apple Crisp! (So far)

I’ve probably had about 6 iterations of apple crisp written up to post on this blog since I started. It’s all a combination of a few ingredients, but it really seems to matter what ratios and for which.

I’m finally fairly confident that this is the best recipe I’ve made so far.

I love apple crisp even more than pie, and I often find myself making a pan and eating it cold for days. Anyway, here’s the recipe.

The Original Recipe: All over the place and over years.

My Version:

Topping Ingredients

  • 3 tablespoons of all-purpose flour
  • 1 cup old fashioned oats
  • 3/4 cup packed light-brown sugar
  • 1/2 tsp baking powder
  • 1/2 tsp ground cinnamon
  • 1/2 tsp salt
  • 1/3 cup butter, melted

Apple filling

  • 2 lbs apples peeled, cored, and sliced
  • 3 Tbsp unsalted butter , melted
  • 2 Tbsp all-purpose flour
  • 3 Tbsp water
  • 1 Tbsp lemon juice
  • 1 tsp vanilla extract
  • 1/2 cup light-brown sugar
  • 1/2 tsp ground cinnamon
  • 1 pinch salt

Method

  • Preheat oven to 375 degrees.
  • Butter an 8 by 8 inch baking dish (or small casserole dish with a similar size), set aside.
  • In a mixing bowl mix together all of the topping ingredients except the butter. Pour the butter over the rest and mix.
  • In another bowl, whisk together all of the filling ingredients besides the apples. I do this in my glass dish to save a dish being washed.
  • Place apples in and stir very thoroughly, coating the apples.
  • Sprinkle topping evenly over dish.
  • Bake in preheated oven until top is golden brown and apples are tender, about 35 minutes.
  • Remove from oven and allow to rest 10 minutes before serving.
  • Enjoy!

Turnip Puff

It just occurred to me that I’ve never shared one of my favourite parts of thanksgiving dinner – and now it’s fast approaching!

I’m talking about Turnip Puff!

My Nana has made this for decades. Think sweet potato pie but with our lowly and golden root vegetable at 79 cents a pound (or at least it should be). But the flavours of butter, brown sugar, and nutmeg bring it to life!

Folks who swear that they don’t like turnip like turnip puff – it’s magic.

The Original Recipe: Best of Bridge – Not Online

My Version:

Ingredients

  • Two medium turnips (about six cups)
  • Six tablespoons of butter, divided in two
  • Salt and Pepper to taste
  • Two eggs
  • Three tablespoons of flour
  • Three tablespoons of brown sugar
  • One teaspoon of baking powder
  • Pinch of nutmeg
  • One cup of Pastene Italian Breadcrumbs (personal fave but any will do)

Method

  • In a large pot of boiling water, cook the turnip until it’s very tender.
  • Drain and mash in the pot. I prefer to use a hand mixer but a masher works, too.
  • Add the first half of butter and some salt and pepper.
  • Set aside to cool slightly, and preheat the oven to 350F.
  • Add the eggs to the turnip and mix them together well.
  • In a small bowl, stir together the flour, brown sugar, baking powder and nutmeg; mix in to the turnip.
  • Scrape into a shallow baking dish, smoothing the top.
  • Stir together the crumbs and second portion of butter, melted.
  • Sprinkle the mixture over top.
  • Bake for 25-30 minutes, until slightly puffed and golden.
  • Enjoy!

Canadian Chinese Honey Garlic Ribs

I was at the grocery store the other day and something caught my eye – spare ribs – on sale!

I truly love Canadian Chinese food, and I’ve mentioned this before with recipes like the Quick Fried Rice recipe.  In similar fashion to that recipe, this is NOT authentic Chinese food, but rather a dish in a whole host of meals that Chinese Canadians have developed as a means to feed Canadians while making a living in a new country. 

There is an extremely interesting long-form article about this in the Globe and Mail that sometimes I go back and read – Chop Suey Nation.  I strongly recommend the deep dive.

An excerpt:

“They are, in very much a weird way, a Canadian thing,” said Lily Cho, a York University professor who has written a book on Chinese restaurants. Of course there are Chinese-American restaurants in the United States, but the story up here – from the way the restaurants spread across the country along with the railroad, to the invention of dishes like Alberta ginger beef and Thunder Bay Bon Bon ribs – is uniquely Canadian.”


68d5b22f-6323-4929-862c-24d8860af67c-1

The Original Recipe: The Spruce Eats

My Version:

Ingredients

  • 3 pounds of spare ribs
  • 1 1/2 cups light brown sugar
  • 1/4 cup of honey
  • 1 1/2 cups water
  • 6 garlic cloves, chopped in 3 or 4 pieces each
  • 1/4 cup of soy sauce
  • Salt and pepper to taste

Method

  • Put your ribs (not cut) in about a cup of water in your Instant Pot.  This can be done in boiling water – just triple the time.
  • Set on manual for 15 minutes, or boil on the stove for 40-45 minutes.
  • While the spareribs are cooking, mix together all the other ingredients in a bowl.  A whisk is often helpful at this stage.
  • Quick release the Instant Pot and remove the spareribs from the pot.
  • Slice the meat between the bones.
  • Clean out the pot.
  • Add the sauce ingredients to the pot and bring to a boil – you do this by having the pot on “saute”.
  • Add the spareribs, bring back to a boil, and then lower the heat to a simmer for 10 to 15 minutes, mixing often so it doesn’t burn or stick to the bottom.
  • Remove the ribs to a serving platter. Return the sauce to the heat and simmer to thicken.
  • Use the sauce for your ribs and sides.  I particularly enjoy broccoli and rice with this dish.
  • Enjoy!

Best Brownie Recipe (So Far)

I’m back! Hello!

I haven’t posted a recipe in a few months.  I’ve been busy with a new-ish job and these things sort of come and go.

Most recently, though, I tried a really fantastic brownie recipe that I had to share! I’m more of a fudge-y brownie person, rather than a cake-y brownie person, and this recipe delivered! I think there’s still some tweaking involved, but so far so good.  I also ended up using my dutch oven to make it out of sheer laziness, really, and it worked really nicely!

Check it out:

The Original Recipe: A mix of about 800 brownie recipes I’ve tried over the years.

My Version:

Ingredients

  • ¾ cup of butter
  • 1 ½ cups of packed golden brown sugar
  • 4 large eggs
  • 1 tablespoon of vanilla extract
  • Dash of salt
  • ½ cup of flour of your choice
  • ¾ cup of cocoa
  • 1 cup of chocolate chunks, chips, or whatever you’ve got on hand (I used a Lindor Chocolate Bar)

Method

  • Preheat oven to 350°F and grease or line a pan to your liking (9×9 or equivalent)
  • Melt butter over a stove top on low and then mix together the butter and sugar together in the pot. 
  • Add the eggs and vanilla; beat until lighter in colour (another minute). 
  • Sift in flour, cocoa powder and salt. Gently fold the dry ingredients into the wet ingredients until JUST combined
  • Pour batter into prepared pan
  • Top with the chocolate pieces.
  • Bake for 25-30 minutes or until the sides start coming away.
  • Enjoy!

Dill Pickle Beans

I’ve been pickling a lot of things for a lot of years.  It’s a great way to keep vegetables that will otherwise go bad from harvest or if you just bought too much!

In years past, my Dad or other folks have given me things that would need to be pickled.  This year, we have a CSA or Farm Share for the summer, and we often do get too much veg for two people to consume in a week!  And so off I go to can and pickle.  

A few weeks ago, we got beautiful string beans and so I pickled them to eventually use in one of my favourite drinks – caesars! If you’re not Canadian and acquainted, a bloody caesar is a take on the bloody mary – incorporating clamato juice as opposed to tomato juice; celery salt instead of rock salt for the rim.  Maybe I’ll do up a recipe for my favourite mix sometime soon.

In the meantime, here is a recipe for pickled string beans.

The Original Recipe: Spicy Dilly Beans Recipe 

My Version:

Ingredients

  • 1 pound of string beans
  • ½ cup of pickling vinegar (7%) – regular 5% will do in a pinch.
  • ½ cup of water
  • 5 medium cloves garlic, minced
  • 1 teaspoon dill seed (not dill weed)
  • 1 teaspoon red chili flakes
  • 2 tablespoons of pickling spice

Method

  • Wash and trim beans so that they fit in your jars.  
  • Combine vinegar, water, and salt in a small pot and bring to a boil.
  • While the pickling liquid heats, pack your beans into the jars, leaving ½ inch for headspace. To each jar, add garlic and spices.
  • Slowly pour the hot brine over the beans, leaving ½ inch for headspace.
  • Wipe the rims, apply lids and rings. Let pickles sit for a day before eating.
  • You can process the jars in water or allow the tops to “pop” and seal in.  Then they can be used as preserves and sit shelf stable for a year.
  • If not, you can put them in the fridge immediately and they will last a couple of weeks.
  • Enjoy!

Uova in Purgatorio

It’s the recipe for my weird tomato eggs! 

The translation is “eggs in purgatory” in Italian – literally meaning eggs in the red sauce as if it’s hell.

I cook this all the time. It’s my favourite breakfast dish that I can make myself and it’s fantastic at brunches.  It’s a bit of a signature dish and I’m so happy to share this with you!

It’s sort of similar to shakshuka, but very different spices. 

I usually serve it over mashed potatoes or with toast.

The Original Recipe: My head, and from my grandmother.

My Version:

Ingredients

  • 1 onion, chopped
  • 2 tablespoons of minced garlic (I often use jar when I’m lazy)
  • 1 tablespoon of Italian Seasoning
  • 3 tablespoons of tomato paste1
  • 1 litre of passata
  • 2-3 teaspoons of white sugar
  • 4-5 eggs
  • Bunch of fresh basil, chopped up
  • ¾ cup of grated parmesan (grated, not powdered like Kraft)
  • Fresh mozzarella (not necessary but a great addition)
  • Salt and pepper to taste

Method

  • Bring olive oil to a medium heat in a pan and add onions, stirring with a wooden spoon until translucent. 
  • Add garlic, but don’t burn it! Add Italian spices and stir until fragrant.  
  • Turn heat to low.
  • Add tomato paste and stir around a bit so the onions are coated.
  • Pour in passata and stir. Add sugar and stir.  
  • Cover on low heat to simmer, stirring every few minutes. This is a bit of a “by ear” moment, but when all of the ingredients are simmering and one sauce, it should be ready. You can do this as long as you want, just stir to make sure it doesn’t stick to the bottom.
  • When you’re ready (and your sides are all done), drop cracked eggs in the tomato sauce.  You can make little “beds” for them by moving the sauce but it’s not necessary.
  • You add the mozzarella at this point if you have it.
  • Sprinkle basil and parmesan over the entire dish and cover on very low heat until eggs are cooked through to your liking.  Add salt and pepper and more parm as you wish!
  • Enjoy!

Easy Risotto

I learned a few months ago that this is actually Adam’s favourite meal I make! I love making risotto – mostly because it forces me to take 40 minutes and stare at a pot of food, instead of trying to do 8 things at once.  It’s hearty, yummy, and healthy enough if you add vegetables.

This recipe is highly adaptable and you can add most things to it.  Below I roasted some tomatoes and peppers in the oven and added them to the dish.

The Original Recipe: My head, but I found some wording with Jamie Oliver

My Version:

Ingredients

  • 3 tablespoons of butter
  • 2 cups of arborio rice
  • 1 onion, chopped
  • 3 cloves of garlic, minced
  • 2 tablespoons of Italian seasoning
  • 1 tablespoon of rosemary
  • 2 tablespoons of vegetable bouillon 
  • 1 ½ litres of chicken stock (or any stock of your choosing) 
  • salt and pepper to taste
  • 2 cups of frozen green peas
  • chunk of parmesan, grated

Method

  • Heat the stock up to warm in a pot.  I like to keep this pot on the left, and the other on my right.
  • In a separate pan, heat the butter over a low heat.  Add the onions and garlic, frying on low for a few minutes.  They’ll be translucent but not browned.  Add the dried spices.
  • Add the rice and turn up the heat – yes, really.  Stir it around a bunch until you can see it starting to change the opaqueness of the rice.  It will smell toasty like popcorn.
  • Add your first ladle of hot stock and a good pinch of salt. Turn the heat down to a simmer so the rice doesn’t cook too quickly on the outside.
  • Keep adding ladlefuls of stock, stirring and almost massaging the creamy starch out of the rice, allowing each ladleful to be absorbed before adding the next. This will take around 15 minutes. 
  • Taste the rice — is it cooked? Carry on adding stock until the rice is soft but with a slight bite. Don’t forget to check the seasoning carefully. If you run out of stock before the rice is cooked, add some hot water.
  • Remove the pan from the heat, add some more butter and the Parmesan, and the frozen peas then stir well.
  • Add whichever other veggies you’ve made to the dish now.
  • Place a lid on the pan and allow to sit for a few minutes.
  • Enjoy!